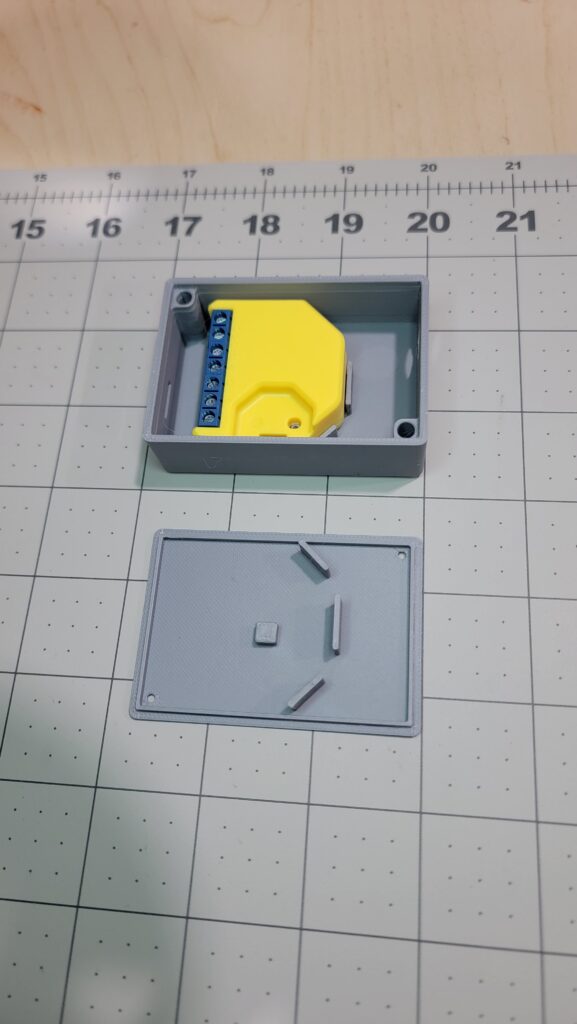
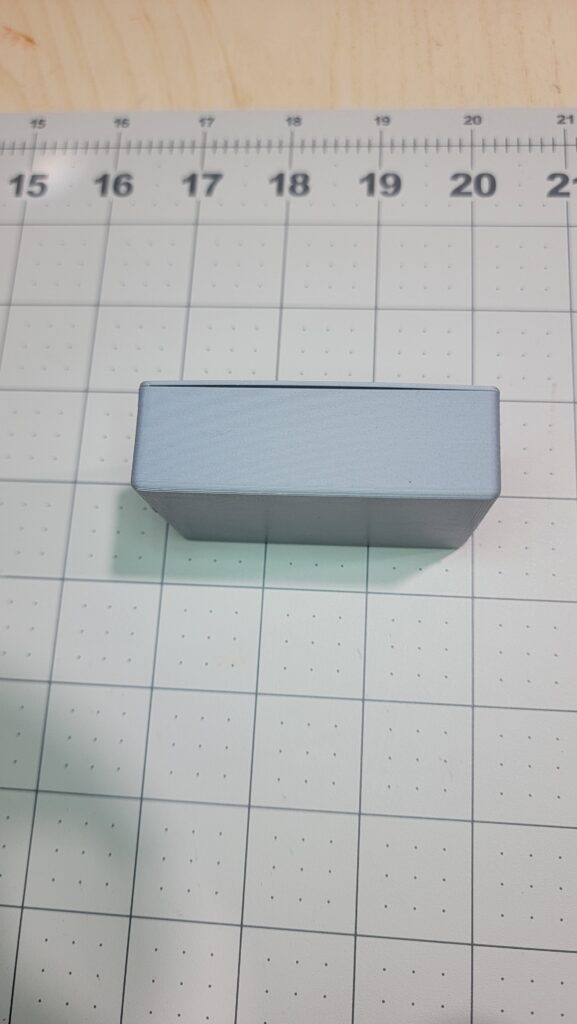
With a little help from the folks at Pittsburgh 3D Prints, my first 3D printed prototype is complete. I am fairly certain this will lead to a new hobby with some useful output.
But first, the problem
As I mentioned in an earlier post, I have started to dabble in 3D printing. This desire actually came out of two separate issues that I wanted to address.
- I need a case for the Shelly LED Controller.
- I need an outdoor mount for our UE Megaboom 3 speakers.
For my first prototype, I picked the Shelly LED Controller case, since it is more pressing and probably the easier of the two.
Why a Case?
I moved my LED controllers to the Shelly LED controllers in June. For containment, the LED strips outside already had waterproof boxes, so putting the Shelly in there was quick and painless.
However, the kids have LED strips in their room, and that presents a problem. The Mi-Light box is self-contained, and includes a power jack to plug in a 5.5mm barrel plug transformer. The Shelly, well, does not. So I need a solution to contain the Shelly and provide a plug.
Design Time!
After replacing the GPU in my laptop, Fusion 360 is running quite nicely. I was able to grab a model of the Shelly LED controller from Grabcad.com. From there, I sketched out a rough bottom shell, leaving enough room on one side for wire connections and on the other for a panel mount barrel jack. I added a small slot for the LED 5 wire flat, as well as retention tabs to keep the Shelly in place. I added two build outs to hold a few M2 threaded inserts.

For the top, I used the sweep function to create a lip profile that matches the inside of the case body. I added additional retention tabs that match three of the tabs on the bottom, as well as a small cube to hold the Shelly against the case bottom. A few small holes for the M2 screws, and I was ready to print a prototype.

A little help?
I do not yet have a 3D printer. I am absolutely interested, but want to make sure it is something that I will use long term, as it is an investment. Luckily, the Pittsburgh3DPrints.com shop is literally 2 miles from my house, and they gladly printed my prototype for a reasonable fee. I exported my components as mesh files and sent them over, and with a day or so, I had a prototype printed in PLA.


An this is why we prototype. When I drew the lid on the case, I matched the profile exactly to the case body. The lack of any gap or margin is causing the top to bow in the middle, since the PLA is not so rigid that it will press into the case completely.
I went back into Fusion 360 and added an offset face operation to the lip, pushing it back 0.2mm from the edge of the case body. This should give me sufficient gap to allow the lid to sit flush while still maintaining a tight fit.
I’m currently waiting on my Amazon order so that I can install the barrel jack and threaded inserts to complete the prototype. While I don’t anticipate any issues, I want to make sure everything fits before I order two more cases in ABS.
What’s next?
I have always enjoyed making physical things. So much of my job is to create solutions in a virtual space, it is nice to actually be able to touch and feel something that I have created. 3D printing is an interesting juxtaposition of those two worlds: I spend time modeling virtually something that the printer turns into something physical.
For now, I am going to attack a few outdoor mounts for our Megaboom speakers. From there, who knows.