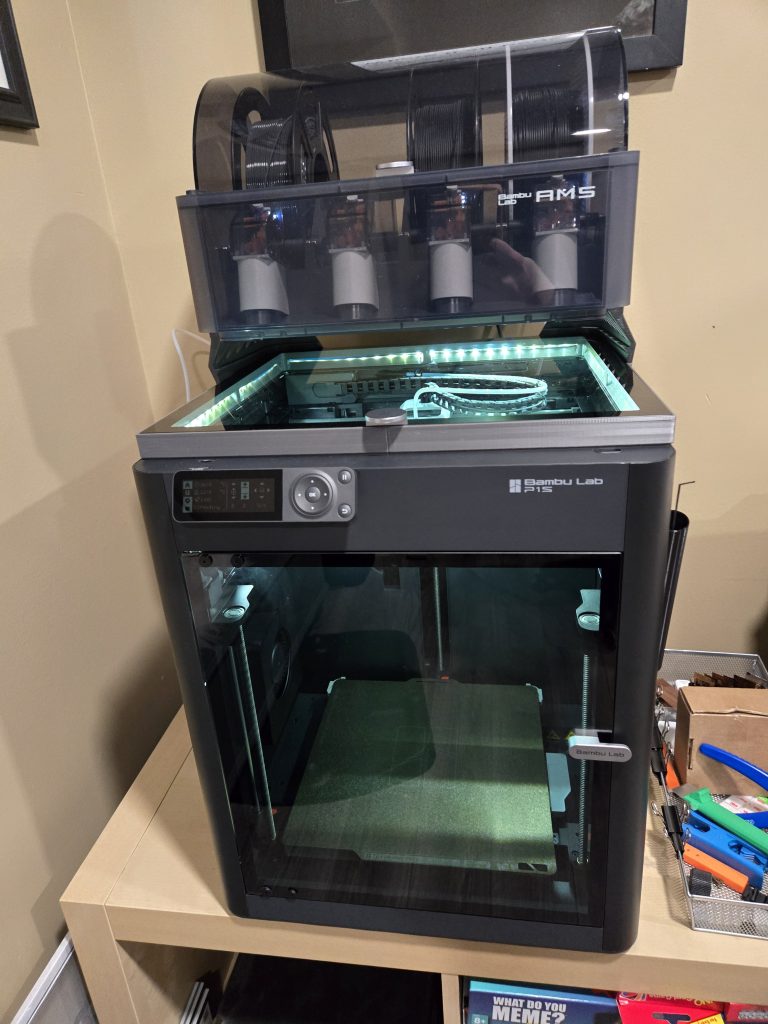
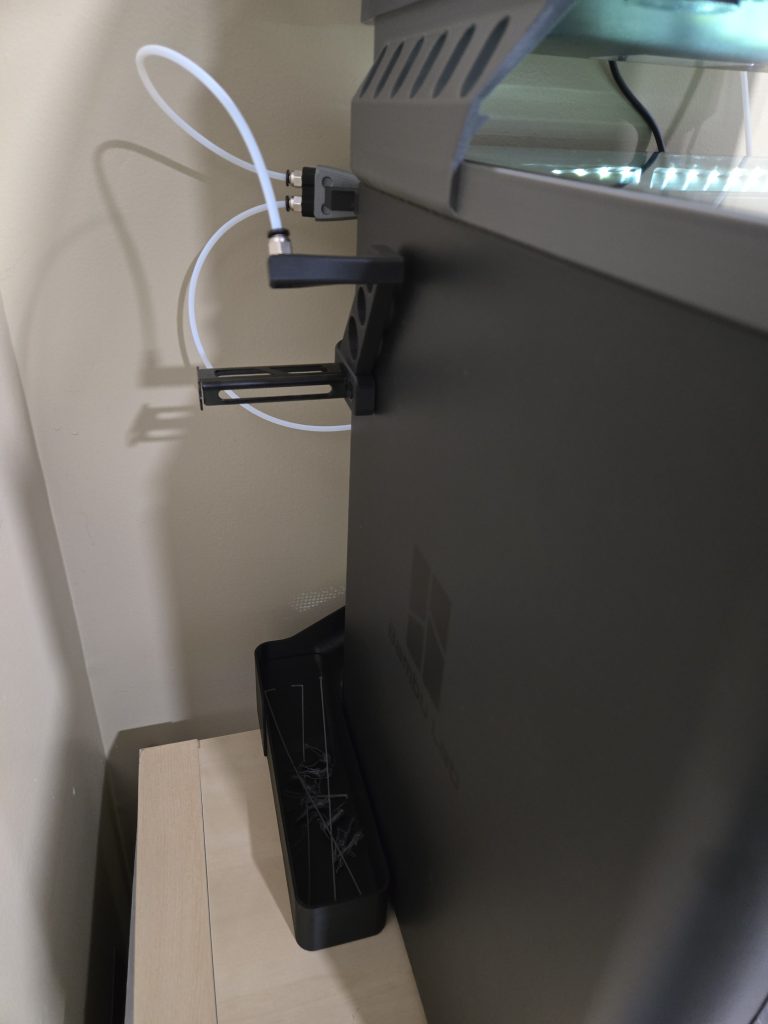
I have spent a good portion of the last two weeks just getting my Bambu P1S setup to where I want it to be. I believe I’m closing in on a good setup.
I thought you were printing in 15 minutes?
I was! Out of the box, the P1S is great, and lets me start printing without a ton of calibration and tinkering. As I continue to print, however, I wanted some additional features that needed some new parts.
External Spool
By default, the P1S has an external spool mount on the rear of the device. This allows the spool a nice path to feed the printer. However, if you have an AMS (which I do), you need to hook up the tube from the filament buffer to the printer.
There are several versions of a Y connector which allows for multiple paths into the printer. I chose the Smoothy on a recommendation from Justin. There is a mount available that lets you attach the Smoothy to an existing screw hole in the P1S, or use magnets.
Since I have the P1S close to a wall, I wanted to relocate the external spool to the side of the machine. This gives me easier access to spool and allows the printer to sit closer to the wall. For that, I printed this external spool support.
For assembly, I couldn’t print everything. I needed some M3 screws and a set of fittings. For the Smoothy and the external mount, I used all four of the 10mm fittings (three for the Smoothy, one for the external mount. However, everything went together pretty easily, and my setup now allows me to print from either the AMS or an external spool.
Raise it up!
Bambu recommends printing with the top vented for PLA. That is difficult to do when the AMS is sitting on top of it. Thankfully, there are a LOT of available risers, with many different features. After a good deal of searching, I found one that I like.
Why that one? A few of the more popular risers are heavy (like, almost 3kg of filament heavy). And yes, they have drawers and places for storage, but ultimately, I just wanted a riser that held the glass top higher (so it could vent) and had a rim for the LED strip I purchased to illuminate the build plate better. My choice fits those requirements and comes in at under 500 grams.
Final Product
With all the prints completed, I am very happy with the results.


Parts List
Here’s everything I used for the setup:
- Filament
- About 500 g of Sunlu PETG, Grey. Probably a little less, but I did some calibration with that roll as well.
- About 300 g of Sunlu PLA, Black Matte. I printed a LOT on that roll, so I’m guessing very high.
- Some Bambu PLA (Black and Silver) for the Smoothy and Smoothy Mount. Both parts combined are under 50g.
- Prints
- Parts
- LED Strip from Bambu Labs – Ordered as part of my P1S purchase
- Bowden Tubes and Fittings
- Extra M3 Screws