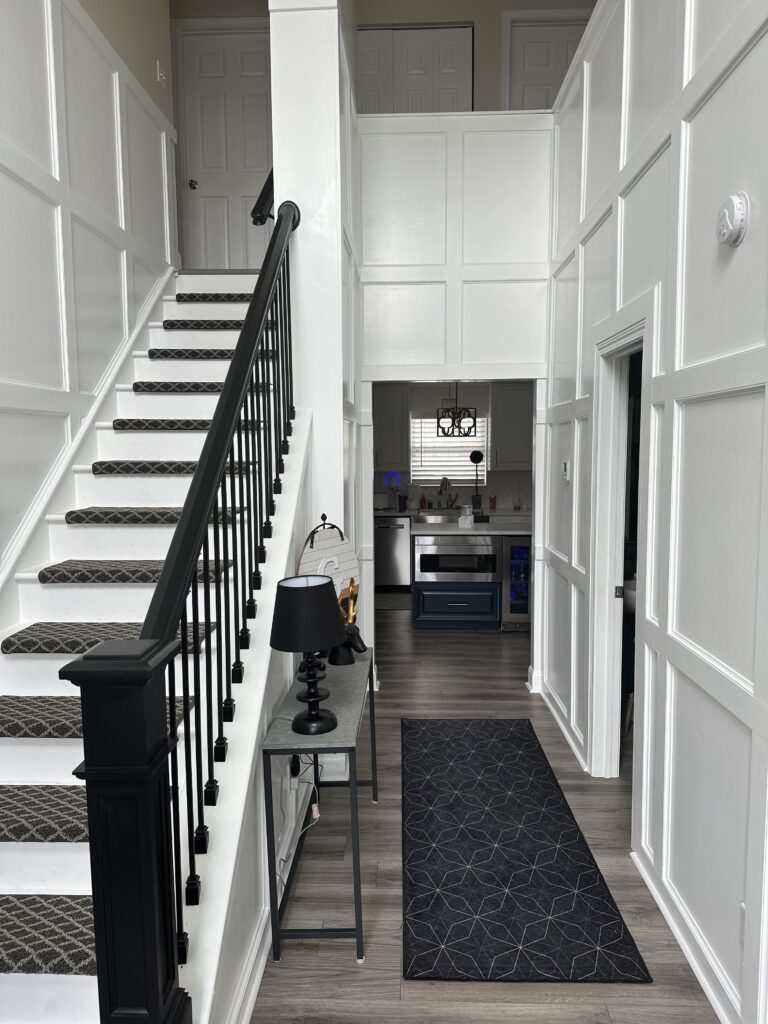
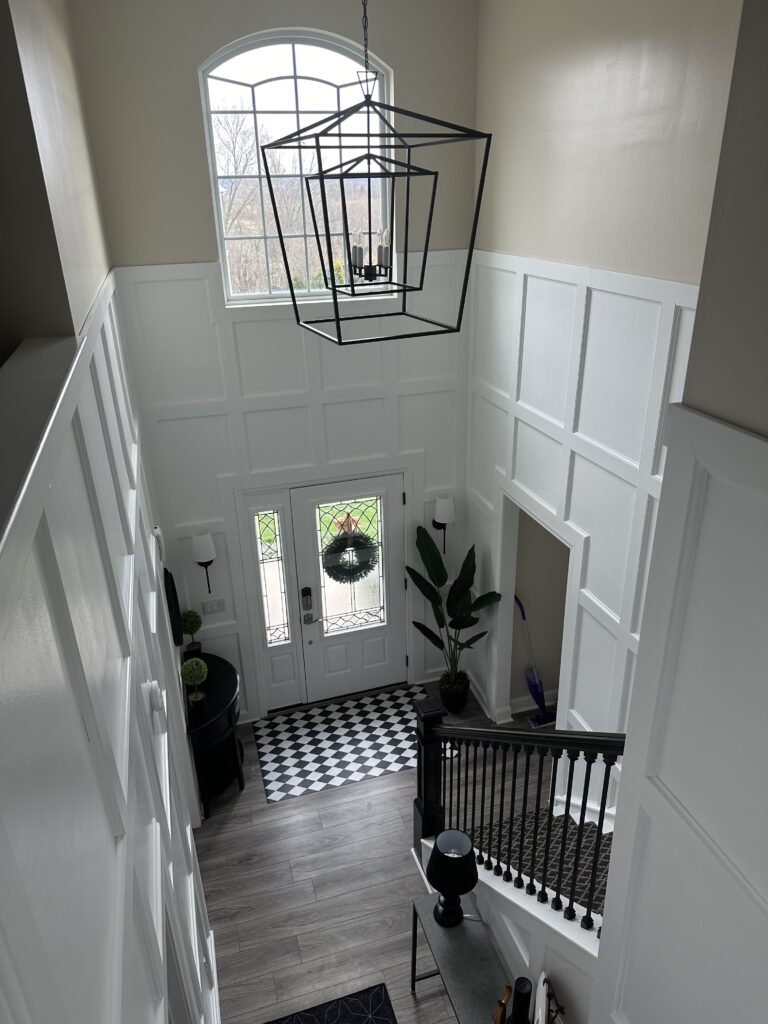
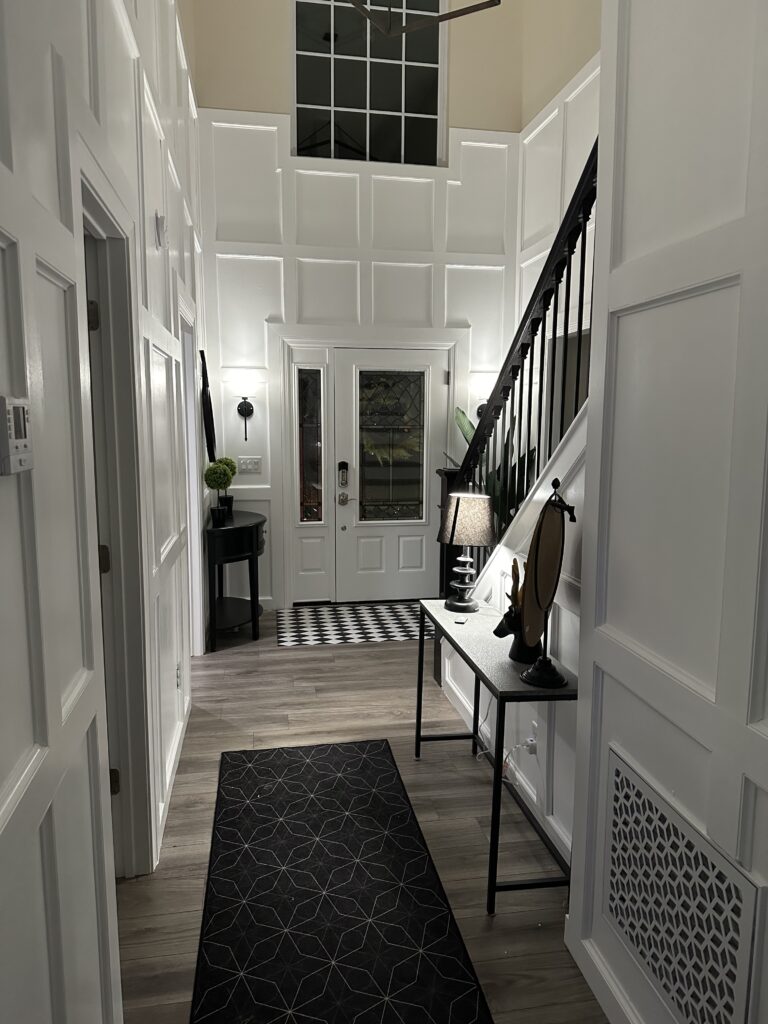
Not everything I do is “nerdy.” I enjoy making things with my hands, and my wife has an eye for design and a sadistic love of painting. Combined, we like to spend some time redesigning rooms around the house. We save a ton doing the work ourselves, and for me it is a great break from the keyboard.
The Idea
My wife has been eyeing up our foyer for quite some time. Our foyer is a two story entry featuring stairs leading to our second floor, doors to each of our office spaces, and a hallway back to our kitchen and living room area. Off of the foyer is a half bath.
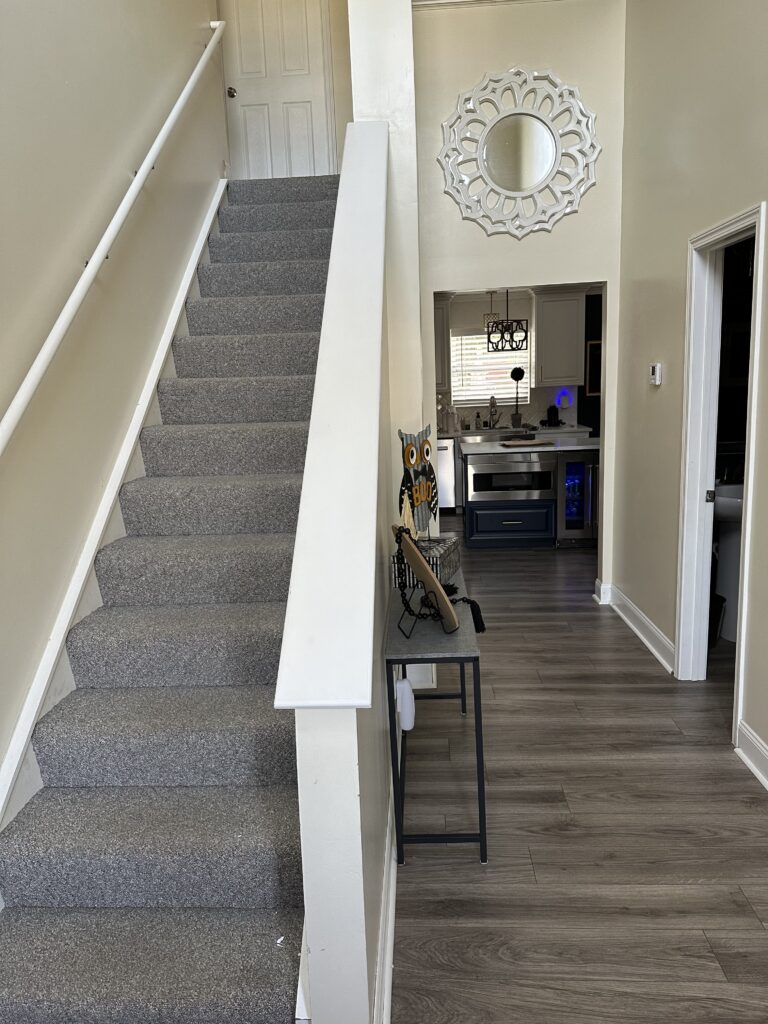
As part of our kitchen renovation a few years ago, we replaced the vinyl flooring with LVT, and had no plans to change that. However, we wanted to open up the stairway with a different railing and add some applied moldings to the walls.
The Plan
Timing on this was a little odd. I was well aware of the work, and we did not want to have a construction zone around Christmas, so we split the work into two phases.
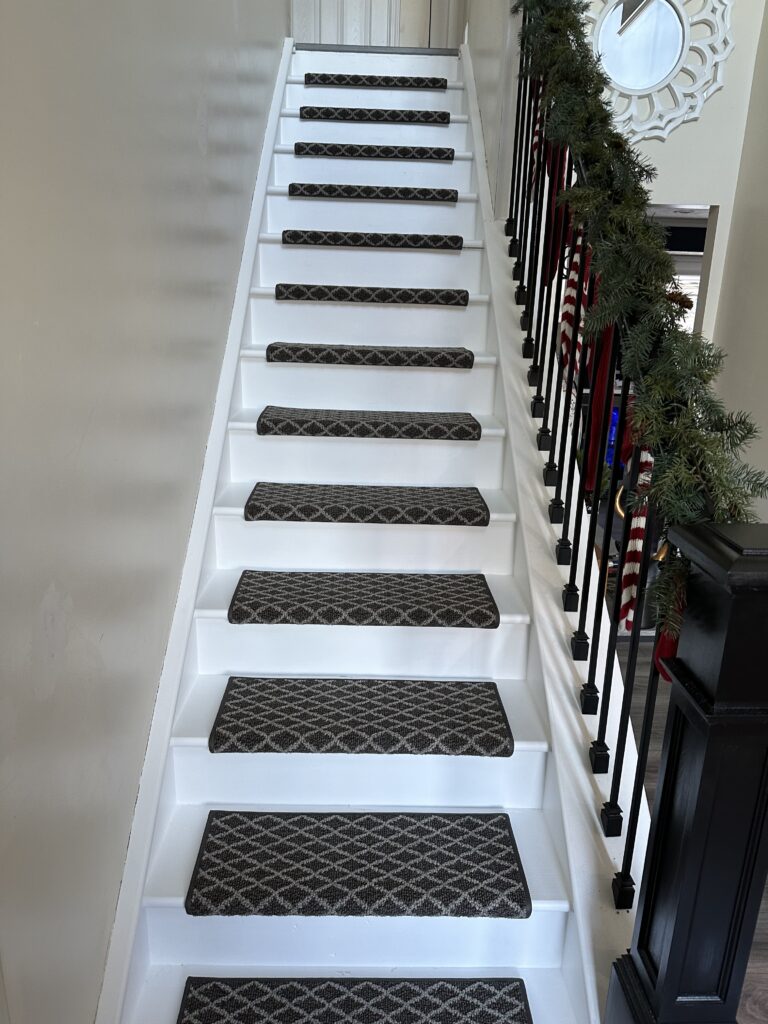
Phase 1 was removing the half-wall on the steps and replacing it with a newel post and railing. It also included removing the existing carpet, painting the stairs, and installing carpet treads.
Phase 2 would be the installation of the applied moldings, some new light fixtures, and a lot of painting.
Phase 1
Demo took about a day. We ripped out the old carpet, cut the half wall down to the existing riser, and removed the quarter round and baseboards. We also removed the old air return grates, as we ordered some new ones and would not be re-using the old ones.
The installation of the newel and banister was not incredibly difficult, but took a while to ensure everything was accurately cut and secured. I built out a good deal of blocking at the end of the stairs to ensure the newel was solidly anchored.
After everything was installed, there were a few days of drywall patching to get everything back to acceptable. The steps took a few coats of floor paint, and a new set of stair treads. They are secured with adhesive, but easily replaceable, which I am sure will be helpful in the future.
All in all, Phase 1 took about 8 weeks. Mind you, this is 8 weeks of work some evenings and weekends, working around sports and social calendars for the kids and ourselves. If you were working on this full time, you could probably get it done in 5-8 working days. We finished Phase 1 just in time for the new banister to get some holiday decorations!
Phase 2
Phase 2 was, for me, the more dreadful of the two. The plan was to take applied moldings all the way to top of the half wall in the loft, and create a framed look with the moldings. This required 1″x4″ boards (we used pre-primed MDF) and 11/16″ concave molding, and a lot of it.
Before we installed the molding, we hired a painter to come in and put a fresh coat on the ceiling and the upper walls of the foyer. While she loves to paint, getting up on a ladder to hit the 18′ ceilings and cut in to the wall did not appeal to my wife, and I agreed.
The process for the 1″x4″ boards was pretty simple: frame each wall, running horizontal boards the length of the wall, then vertical boards on each end. In between, run boards horizontally to divide the wall into three, then add vertical boards to complete the rectangles. Around the door frames, we used 1″x4″ boards to build out the existing molding, giving the doors a larger look.
After the 1″x4″ installation, I went back through and installed the 11/16″ concave molding inside of each square, creating a bit of a picture frame look. This was, well, a lot of cutting and placing. In particular, the triangles on the walls with the steps were challenging because of the angles that needed cut. I did more geometry in the last few months than I have in a while.
After everything was buttoned up, my wife took on the task of painting all the installed trim. All it took was time, and a lot of it: I think that task alone took her about 4 days. With the painting complete, I installed the last of the quarter round and she added some design touches.
The last install was to rent a 16′ step ladder to change out the chandelier. I had done this once before, and was not looking forward to doing it again. The combination of wrestling the ladder into the foyer, setting it up, and then climbing up and down a few dozen times makes the process somewhat cumbersome.
Phase 2 took about 9-10 weeks, with the same caveat that it was not full time work. Full time, you are probably looking at a good 8-10 business days. But the end result was well worth it.
After Pictures
Overall, we are happy with the results. The style matches my wife’s office nicely, and transitions well into the kitchen and living area.
