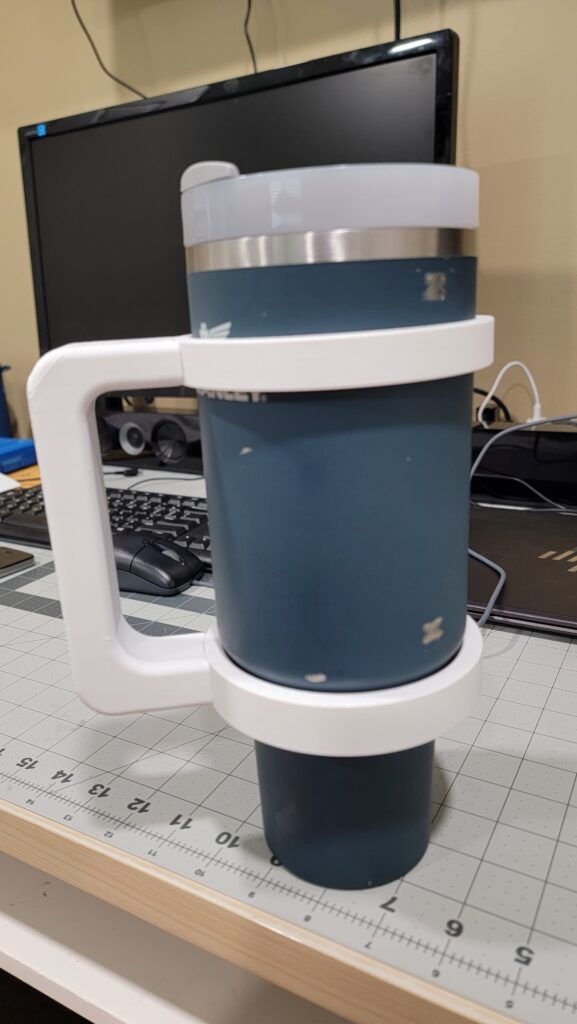
My son’s broken Stanley handle led me down the path of designing and printing a new handle. Overkill? Probably. But fun nonetheless.
What’d You Do?
My son came home last week from school last week with a bit of a sob story. Someone knocked his Stanley Quencher 40 ounce Tumbler off his desk, and it landed in such a way that the handle broke off. It was not that the screws came loose: the handle mounts just busted off.
It was a relatively new purchase, so I told him to contact Stanley about a warranty. To Stanley’s credit, they shipped him a new one, so he’s got a new one and can move on with his life. But now we have a perfectly functional Stanley with no handle. This felt like a perfect opportunity to design a new one!
It’s Prototyping Time!
I checked Grabcad.com for an existing model of the Stanley 40 ounce Quencher, but alas, there was not one. I also checked Thangs.com and Printables.com, but nothing popped up. So, I took a few measurements from the Stanley I had in hand and went about mocking up a quick model of the Stanley. It is not at all pretty, but it gives me the proper dimensions for my handle model. I left the handle off because, well, mine does not have the handle, hence the reason for my work.

The design I had in mind is similar to some existing Yeti handles that I have seen. While the official Yeti ones have a single ring, because the Stanley is a not flared as it goes up, I wanted a double ring design to take advantage of the lower flare on the Stanley.
With a double ring, I needed to break this out into a multi-part component in order to print it. In order to add some strength to the finished product, I added dovetails at the joints.
I ended up with this:


Off to the Printer!
I am still mulling over purchasing a 3D printer, so for now, I rely on Pittsburgh3DPrints to have my prints completed. I sent my design over and had the print turned around in a few days. Normally I can just pick it up, but they are out of the shop this week, so I had to wait patiently for the USPS to deliver it.
How did it turn out?

Pretty much exactly as I had planned… Which isn’t always the case, but I do love it when a plan comes together.
The dovetails joints are actually pretty tight on their own, but I’m going to glue them up just for added strength and removing the worry of it coming apart and losing pieces.
Getting closer…
As I design and print more, the list of “pros” continues to grow in the “should I buy a 3D printer” debate I am having with myself. My modeling is, right now, serviceable, but I am getting better with each tutorial and print. Perhaps one day I’ll convince myself to get my own printer.
